Baking bread makes me question my profession…
For me, baking is a perfect mix of science and art. Science, because everything has an expected reaction. Art, because you never do anything exactly the same each time.
I discovered baking bread shortly after I stole my wife’s kitchen aid mixer. I was committed to finding not only the best chocolate chip recipe (Alton Brown’s Chewy) but, also the best chocolate white chocolate chip cookie recipe. I am still hoping to stumble upon something that gives Subway a run for its money.
The problem was simple. I loved baking cookies, but making 3 batches a week was causes my stomach to stick out a bit too much. I figured bread was similar to cookies, but significantly lighter on my belly. I really just assumed it was because my cookies recipe called for 2 sticks of butter and 2 cups of sugar. While bread recipes typically ask for a tablespoon of butter and teaspoon of sugar… and then cups and cups and cups of flour.

While I have blatantly stolen my favorite recipe from another bread aficionado. I feel like I have made it my own enough to share. Also, some of the steps are so common to baking that its all the same anyway. As further reading on the intricacies of bread making I would recommend Serious Eats: Breadmaking 101. The blog helped me understand why I was doing what I was doing… which is how you make something your own.
Honey Wheat Bread
Phase 1
- 1 cup warm water (think slightly above body temp)
- 1 tablespoon active dry yeast
- 2/3 cup bread flour
- 1 cup wheat flour
Add all ingredients to bowl. Mix until all flour is incorporated. Let sit for 30 minutes.
This rest is called autolyse and is covered in breadmaking 101. Essentially, it prepares the dough to be awesome. So just do it.
Phase 2
- 1 tbsp butter
- 1 tsp kosher salt
- 2 tbsp gluten (optional, but it only makes the bread better)
- 1 tbsp ground flax (optional)
- 1/2 – 1 1/2 cup wheat flour
Add ingredients to the fluffy puff of dough and start mixing. Start with 1/2 cup flour and add a tbsp at a time until the dough stops being too sticky and gooey.
Move to new container that has been lightly oiled, a thin coating of olive oil will do (1 – 2 tbsp). Roll the dough around in the bowl to coat the outside. Cover and let rise until dough doubles in size (typically 1 – 1 1/2 hours)
Yes, “stops being sticky and gooey” is as close as I will give to real instruction here. I have found that having a wetter dough yields fewer bread caves (those massive holes in the bread that travel the distance of the loaf).
Phase 3
Punch the dough down. Remove from container and fold. Squash out all the air from the dough that you can.
Place dough to proof in baking pan. Let rise until the dough is 1″ above the rim of the bread pan.
Phase 4
Bake at 350° for 15 minutes. Cover with foil and bake for another 10 minutes.
Remove from pan after removing from oven and let cool completely before slicing into the bread.
Enjoy!
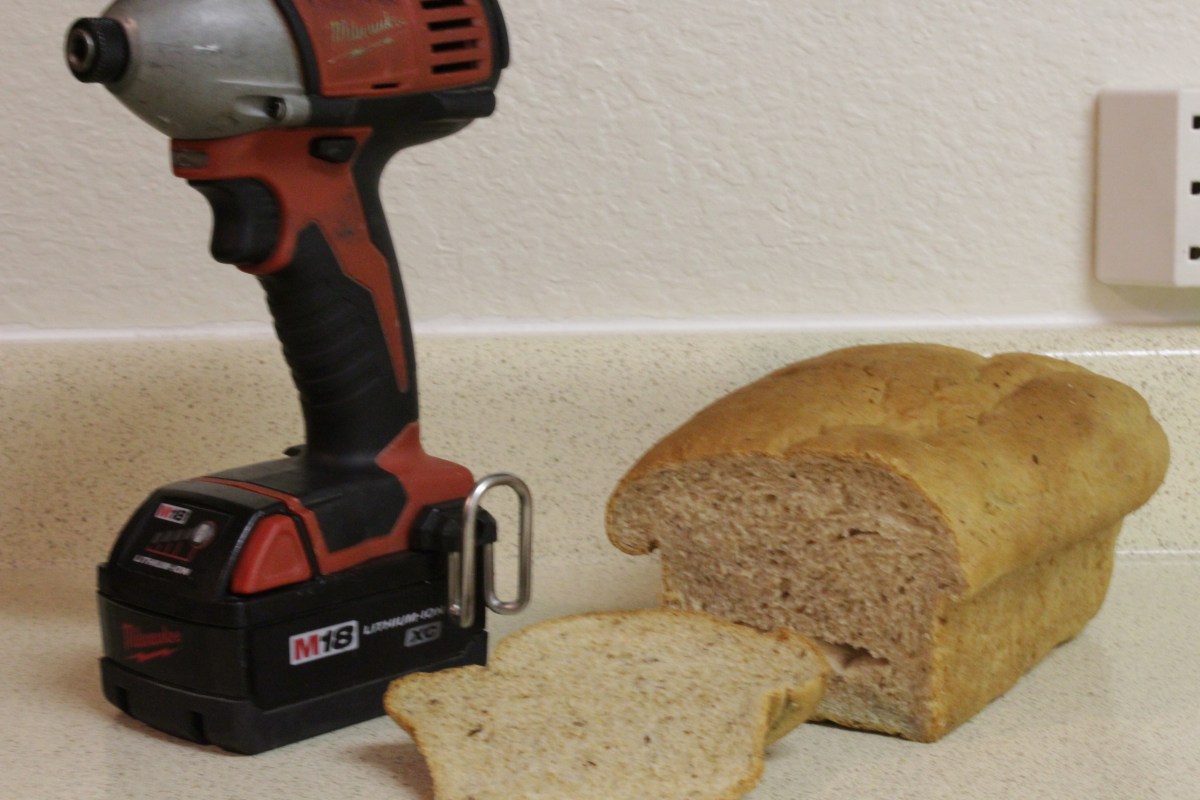
In my first loaf I cut in prematurely to get that wonderful warm bread taste. I ended up squashing my bread. I still ate it, but some parts were doughy and dense. This is a fluffy pb&j kind of bread. So doughy and dense was bad, even if it was just some parts of the bread.
I have found that it will easily last a week when sealed in a zip top bag. It will last even longer if you plastic wrap and freeze it.
As a final caution… I have found that my mixer does not support making multiple loaves at one time! One of my more tragic experiments involved too much dough wobbling the mixer all over the counter. I was gone just five seconds to help with baby girl and I came back to shattered glass and my mixer (sorry… wife’s mixer) absently spinning air against the floor.
If you want to be efficient and double or triple the recipe. Either have one of those industrial mixers they have at donut shops. Or, do it by hand.
Since starting baking bread I have stopped buying bread at the store. I did enjoy buying some Dave’s Killer bread or some of that wonderful Buttermilk variety. Yet, I hated paying 5 bucks a loaf. I can proudly say I have been off store bread for more than a year.
I love this recipe. I make it weekly. It is nearly as much a staple of my life as my breakfast. Some of my favorite ways to enjoy it include:
- Peanut butter and honey sandwiches
- Nutella Toast
- BLT with cream cheese
- Pb&j
- fresh with butter

and remember… Peanut butter and wheat bread are a complete protein! Yay!
